Importing Contacts
Once logged in to the platform, you can import contacts in two ways:
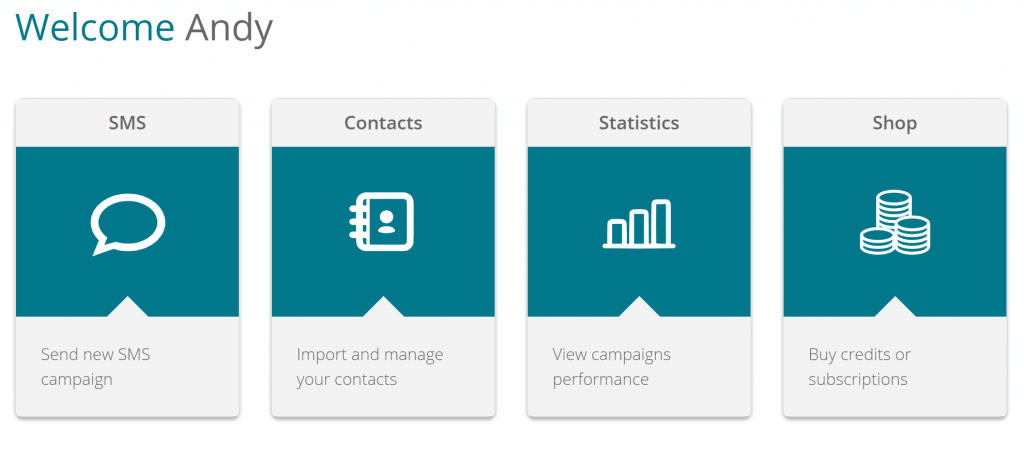
- By clicking on the CONTACTS box on the home page
- Selecting the menu CONTACTS > Import contacts.
First step: Select the import method
An import window will open with two main options:
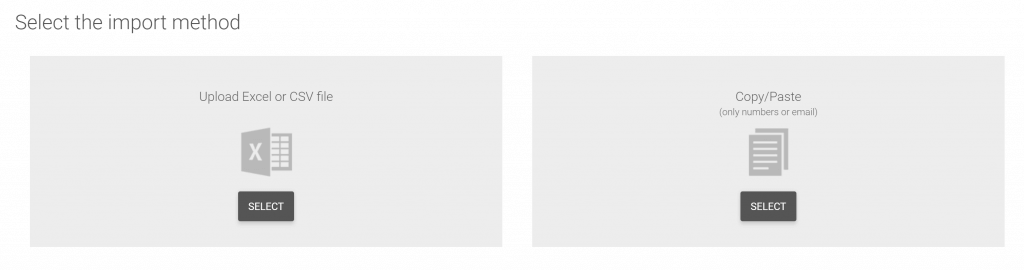
1. COPY / PASTE (Phone numbers only)
You can type the numbers or email addresses of your contacts in the appropriate box, or you can copy and paste them.
Choose between “Add new and update existing contacts” and “Add new contacts only.”
Warning: This procedure allows you to upload up to a maximum of 15,000 contacts to the Platform.
2. FROM FILE
Select the file to import by clicking on the upload icon. You can import your contact list from .xls and .xlsx files or from .csv files.
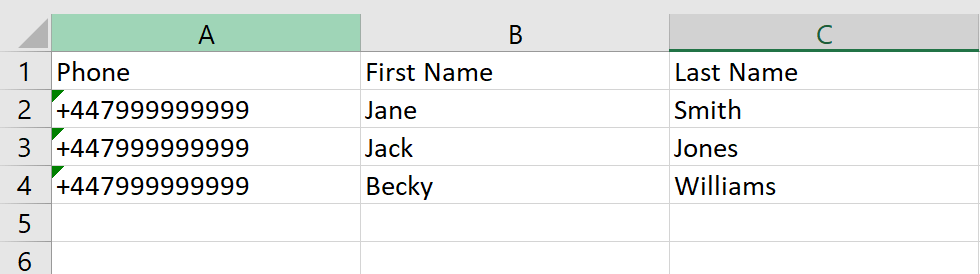
How to prepare the file for importing your contacts:
Here are some rules to keep in mind to always ensure a smooth import of your contacts:
- Make sure that the file contains the data (mobile phone numbers, name, surname, etc.) always in a column.
- Make sure that the first cell of the column contains the column header, which is a text identifying the content of that column (for example: mobile, first name, last name).
- If the list of telephone numbers contains non-UK mobile numbers, it is always necessary to indicate the prefix for all numbers (format 0044 or +44).
- If you use a spreadsheet (e.g .xlsx), it is necessary to format the cells containing the telephone numbers as “text only”, so that the zeros and + in front of the numbers are not removed when importing. If the system does not recognise the presence of an international prefix, it will insert it by default according to the nationality of the account.
- .xls files generated with other editors other than MS Office Excel (eg OpenOffice) may cause incorrect numbers to be imported. With OpenOffice it is recommended to save in .csv format.
- It is not possible to import files larger than 64Mb.
- There are maximum limits of characters that can be imported for each personal data field. Find the details on the Contacts page .
- If you import a file that also contains the GROUP in which to insert the contacts, be careful to write the name of the group correctly, otherwise a new group will be created. Eg. if the CUSTOMERS group already exists , but in the file it is indicated as CUSTOMERS1 group, at that point in the address book there will be a group called CUSTOMERS and one called CUSTOMERS1.
NB: the system does not distinguish between upper and lower case, therefore the “customers” group, the “Customers” and the ” CUSTOMERS ” group are identical for import purposes.
NB: You can import your contact list from .xls and .xlsx files or from .csv files. If you want to import .xls or .xlsx files, you can use the template provided or use your own file. In this case it is mandatory to insert the column header and use .xls or .xlsx files generated with MS Office. To avoid any problems, it is generally suggested to import .csv files. as .xls files generated by non-Microsoft programs (such as Open Office or Numbers) as they may generate errors in the import. In case you have an .xls file of which you do not know the origin, we always recommend saving it first in .csv format and then uploading it to the platform.
Select group
If you have not already indicated in the import file, it is possible here, optionally, to select the group(s) to which you want to associate the contacts (the contacts can be entered in zero, one or more groups). Just select the existing group(s) or create a new group, without exiting the import procedure, by clicking on NEW GROUP .
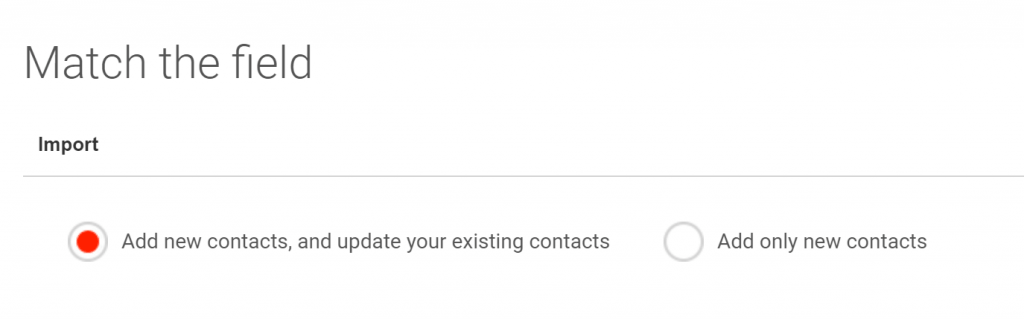
Second step: How to import and link fields
If you have chosen the method of importing contacts from a file, to conclude the procedure, go to the second step: “Methods of importing and linking fields”.
Once the file has been uploaded, it is possible to select two import methods:
- a) Add new and update existing contacts – contacts already entered in the address book will be updated with the new data and the new associations to groups and / or lists.
- b) Add only the new contacts – the contacts already present in the address book will remain unchanged.
In the second part, you are asked to associate the various personal fields. To establish which field each column of the file (on the left) corresponds to, simply select the corresponding personal data field on the right.
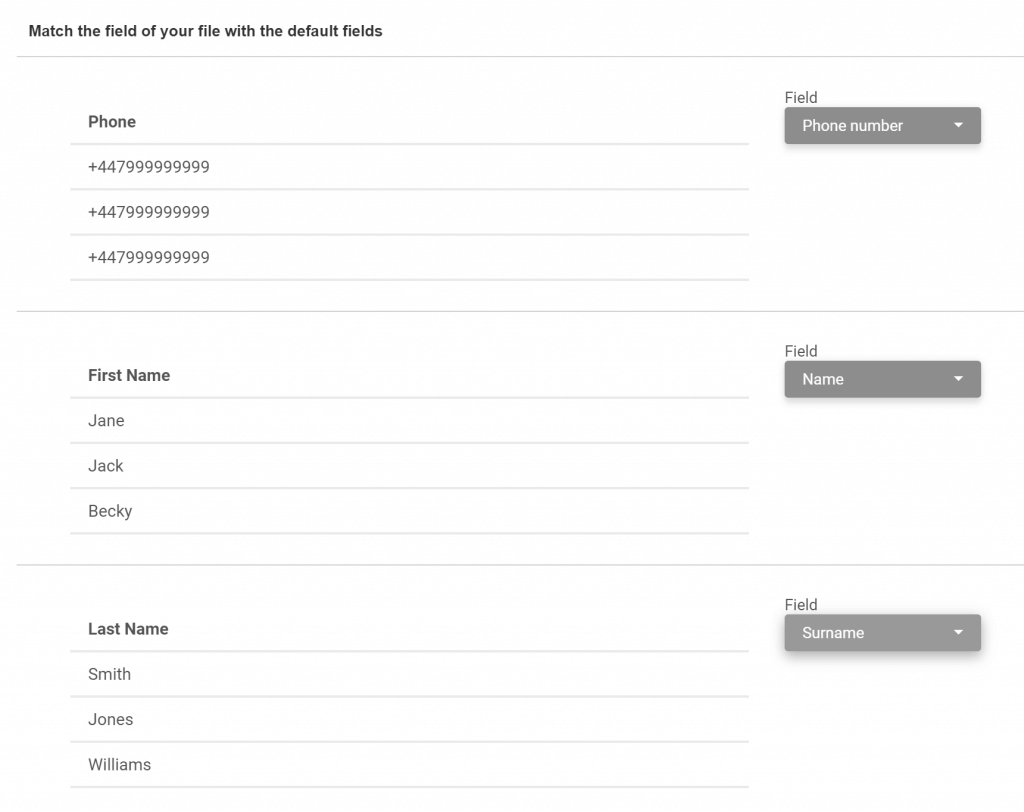
Click PROCEED to complete the import.
ATTENTION : be very careful when associating the file columns with the available personal data fields to avoid annoying mistakes. In particular, pay attention to the association of the GROUP personal data field to avoid the creation by mistake of numerous incorrect groups (for example for having associated the SURNAME column with the GROUP personal data field ).
Advanced options
Furthermore, it is possible to receive an email with a list of the contacts that caused errors, or contacts that have not been imported due to problems relating to information conflicts (eg the same mobile phone number associated with two different email addresses). Set the flag on the “Send email report of contacts not imported” box and the email will be sent to the address indicated in the settings.
Finally, click on the ” PROCEED ” button.